Bread Proofing Timers: Why Temperature Matters as Much as Time
Dough does not read the recipe clock. A proofing timer is useful when it reminds you to check the dough, not when it orders you to bake.
Scope note: Bread timing varies with formula, dough temperature, room conditions, and fermentation method. Use the recipe's visual and tactile cues, and follow current food-safety guidance for any perishable ingredients.
Yeast does not read the recipe clock
A recipe might say to let dough rise for one hour, but fermentation responds to conditions. Dough mixed warm in a warm kitchen can move quickly. Cooler dough in winter can take much longer. The timer is still useful, but its job is to bring you back for an informed check.[1]
Set the first cue before the earliest likely completion, especially with an unfamiliar dough. At that point, inspect volume, shape, bubbles, and feel according to the recipe. If the dough needs more time, set another short check. This reduces both neglect and the temptation to force the schedule.
King Arthur Baking's guidance explains that yeast activity increases with warmth and recommends thinking about desired dough temperature, not simply room temperature. Its professional target ranges vary by bread style, which is a reminder that there is no single ideal proofing temperature for every formula.[2]
Measure what you can repeat
Record the room temperature, water temperature, and dough temperature after mixing if you want to improve consistency. Also note flour type, yeast amount, mixing method, and the container used. These variables help explain why today's sixty-minute rise looked like last week's ninety-minute rise.
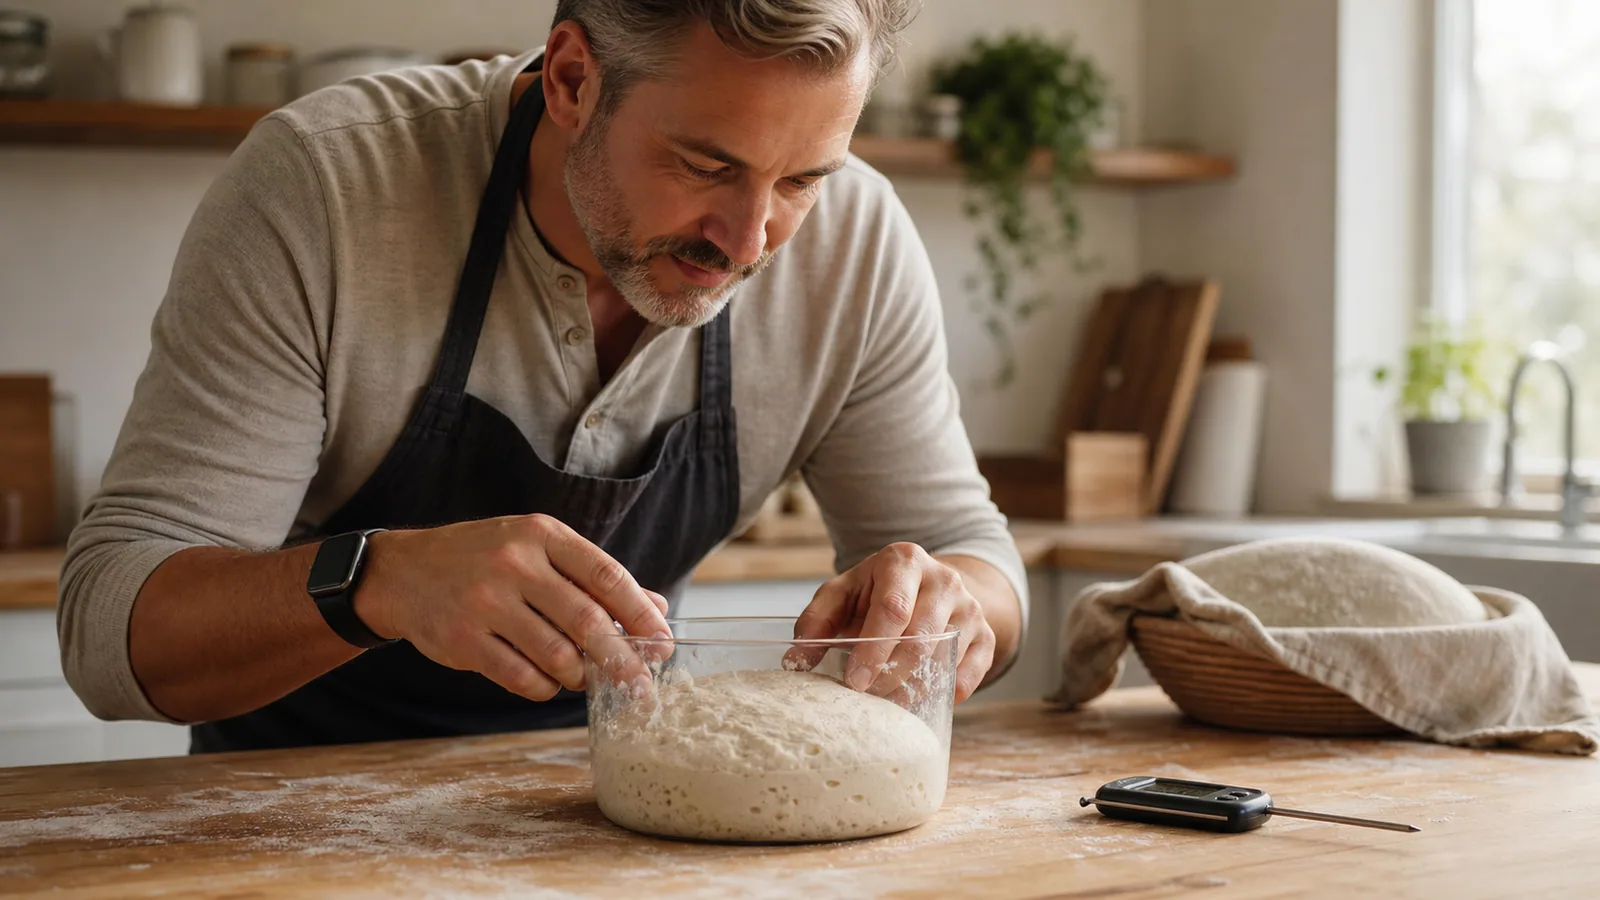
A straight-sided transparent container makes volume easier to judge during bulk fermentation. Mark the starting level with tape or a washable marker on the outside. The target increase depends on the dough and method, so follow a reliable recipe rather than assuming every dough must double.
Use the same observation language each time: smooth or shaggy, elastic or slack, scattered bubbles or a web of gas. Notes do not need to be poetic. They need to let you connect conditions with results after the bread is baked.
Set cues around stages, not one long wait
Many breads include mixing, folds, bulk fermentation, preshaping, bench rest, final shaping, and final proof. Give the timer a label for the next action: "first fold," "check bulk," or "score and bake." A generic alarm is easy to misread when two doughs are moving at once.
For repeated folds, schedule only the next one. After completing it, start the following interval. This keeps the timer aligned with what actually happened. If shaping took longer than expected, a chain of timers created at the beginning would already be wrong.
A quiet wrist cue is useful when you leave the kitchen, but it is not permission to leave an unsafe oven or appliance unattended. During fermentation, keep the dough in a suitable protected location and follow the recipe's handling guidance. During baking, remain attentive to equipment and household safety.
Learn what the dough says at final proof
Final proof determines how much fermentation happens after shaping and before baking. Underproofed dough may spring back quickly when gently pressed and can tear unpredictably in the oven. Overproofed dough may feel fragile and fail to recover. The exact test and interpretation vary with dough type.
Use a gentle press test only when it is appropriate for the bread and your source recommends it. Watch the overall shape as well. A wet high-hydration dough, an enriched loaf, and a stiff sandwich dough do not feel the same. Experience becomes useful when it is tied to notes and repeated formulas.
Set the first final-proof check conservatively. If the dough is not ready, return in ten or fifteen minutes rather than forgetting it for another full recipe interval. Small checks are especially helpful when a warm room or enriched formula makes the pace less familiar.
Use refrigeration as a controlled slowdown
Cold fermentation can slow activity and create scheduling flexibility, but refrigeration does not stop fermentation instantly. A large or warm dough takes time to cool. Follow a tested method for when to refrigerate, how long to hold, and whether the dough should warm before the next step.
Keep the refrigerator at a safe temperature. FDA advises maintaining it at or below 40°F and using an appliance thermometer to verify the setting. This is particularly important when dough contains eggs, dairy, or other ingredients that require temperature control.[3]
Label the container with the dough and the time it entered the refrigerator. Set a reminder for the planned next step, not only the maximum hold. When you remove it, note how much fermentation occurred while cooling. That observation improves the next schedule.
Bake to evidence as well as time
Preheat fully and allow any baking stone or covered vessel the time recommended by the recipe. An oven's preheat beep may reflect air temperature before heavy surfaces are ready. If your method requires a longer heat soak, include it in the schedule.
Use the recipe's signs of doneness, which may include crust color, firmness, internal temperature, or weight loss. A timer should prompt the first check. Oven accuracy, loaf size, pan color, and steam all affect the actual bake. Rotate only if the method and oven require it.
General food-safety practice still applies in the baking kitchen. FDA recommends clean hands and surfaces, separation that prevents cross-contamination, thorough cooking, and prompt refrigeration of perishable foods. Be especially attentive when fillings or toppings contain meat, eggs, or dairy.[3]
Build a loaf log that makes time meaningful
After cooling, record the crumb, crust, flavor, and any shaping issues beside the timing and temperature notes. A loaf that rose quickly may look good but taste less developed. Another may ferment slowly and still need a warmer final proof. The finished bread is the feedback.
Change one factor in the next bake. Adjust water temperature, proofing location, or check interval, but not all of them at once. This makes cause and effect easier to read. Keep the flour, formula, and loaf size stable while learning the timing.
A reliable bread timer is really a sequence of observation appointments. It brings you back when the dough is likely to have new information. Temperature explains why the clock changes, and careful notes turn that variation into a process you can repeat.
Troubleshoot the clock with the finished loaf
If a loaf spreads, opens poorly, or has an uneven crumb, resist blaming proofing time alone. Shaping tension, flour strength, hydration, mixing, scoring, and oven heat can produce similar symptoms. Compare the full notes with a reliable troubleshooting source and change only the variable you can reasonably isolate.
Photograph the dough at the start and at each check from the same angle. Add a photo of the cooled crumb. Images make vague volume memories more concrete, especially when bakes are weeks apart. Keep personal images private if they show household details, and do not depend on color alone when lighting changes.
For two loaves from one dough, label each basket and track them separately. The second loaf can continue fermenting while the first bakes, especially if it remains warm. Refrigerating one according to the recipe may preserve the intended spacing. Set a distinct cue for each loaf so one clock does not silently stand in for both.
Eventually, a familiar formula may need fewer checks because you recognize its pace in common conditions. Keep the first check anyway when the weather, flour, batch size, or schedule changes. Confidence should reduce needless attention, not remove observation from a living process.
Write down the clock time as well as elapsed time. If dinner, school pickup, or bedtime interrupts the plan, you can see when each stage actually occurred. This also makes overnight methods easier to audit the next morning, when remembering whether the dough entered the refrigerator at nine or eleven can change how you interpret it.
Share notes carefully when helping another baker. Include the formula, batch size, temperatures, and visual evidence instead of announcing that a dough "always takes ninety minutes." Useful guidance explains the conditions that produced the time. That habit keeps a successful local result from becoming a misleading universal rule.
References
- [1] What Is Proofing Bread and How Do I Get It Right?. King Arthur Baking.
- [2] Dough Temperature. King Arthur Baking.
- [3] Food Safety in Your Kitchen. U.S. Food and Drug Administration.
Related articles
Cooking & Baking
How to Run Multiple Kitchen Timers Without Losing Track of Dinner
Create a simple kitchen timing system for overlapping dishes while keeping food-temperature checks and safe handling in the foreground.
Read the articleMusic Practice
How to Structure a 60-Minute Music Practice Session
Turn one hour of music practice into purposeful blocks for preparation, technique, problem solving, repertoire, and a useful closing review.
Read the articlePut quiet timing on your wrist
Get Haptica: Silent Watch Timer from the App Store and build timing cues that fit your routine.
Get Haptica on the App Store